## What is an Area?
An area is a named group of rows in your view. Areas let you:
- Visually organise sections of a view on the canvas (each area has a colour).
- Show or hide a whole section at once with a single condition.
- **Repeat** a whole section for every item in a list -- for example, render one card per deal, one row per attachment.
Each area has:
- A **Name** for identification.
- A list of **Rows** it contains (you pick them from the row selector).
- A **Color** for visual distinction on the canvas.
- Optional **Conditional Visibility** settings.
- Optional **Loop** settings.
 ## Creating an Area
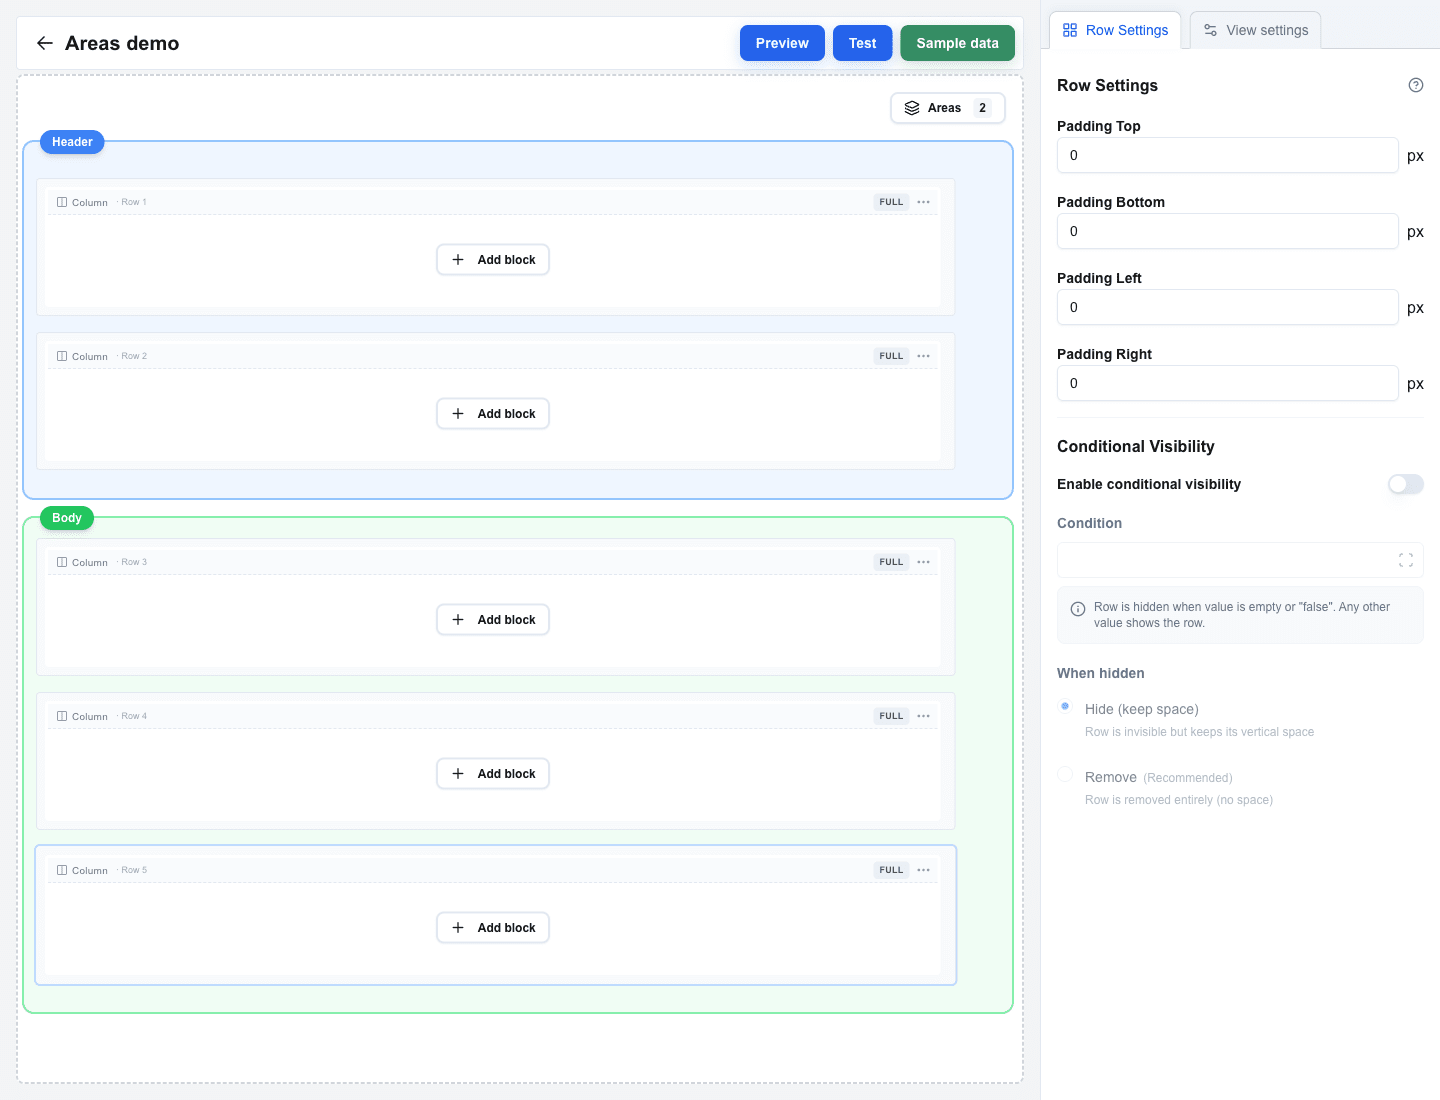
1. Click the **Areas** button (top-right of the canvas, the badge shows how many areas the view already has).
2. Add a new area from the list and give it a **Name** that describes the section (for example, `Header`, `Body`, `Line items`, `Summary`).
3. Build up the row range:
- Click numbered row buttons in the **Rows** visual selector to toggle them in or out. Rows already owned by another area appear in that area's colour and are disabled (areas cannot overlap).
- Use the **Add Row N (above/below)** quick-action buttons that appear for adjacent unowned rows.
The area appears as a coloured overlay around the selected rows, with a labelled badge above the first row. Clicking that badge selects the area and opens **Area Settings**.
## Switching Between Areas
When the view has more than one area, the top of **Area Settings** shows a dropdown next to the **Area Settings** title. Open it to jump straight to another area; the canvas scrolls to the area's first row.
## Area Colours
Pick a colour from the swatches in **Area Settings** to tell areas apart on the canvas. The colour only affects the builder -- end users of the view never see it. The eight available colours, in order, are:
- **Blue** (default)
- **Green**
- **Purple**
- **Orange**
- **Red**
- **Teal**
- **Pink**
- **Gray**
## Conditional Visibility
You can show or hide a whole area based on data.
1. Open **Area Settings** by clicking the area's badge on the canvas.
2. Toggle **Enable conditional visibility** on.
3. In **Condition**, use the Data Picker to build an expression. The area is hidden when the expression evaluates to an empty string or `"false"`; any other value shows it.
4. Pick a **When hidden** mode:
- **Hide (keep space)** -- rows become invisible but keep their vertical space in the layout.
- **Remove** *(Recommended)* -- rows are removed entirely; no gap is left.
## Looping an Area
A loop makes the whole area repeat -- once per item in a list, or a fixed number of times. This is how you render "one row per record" in a view.
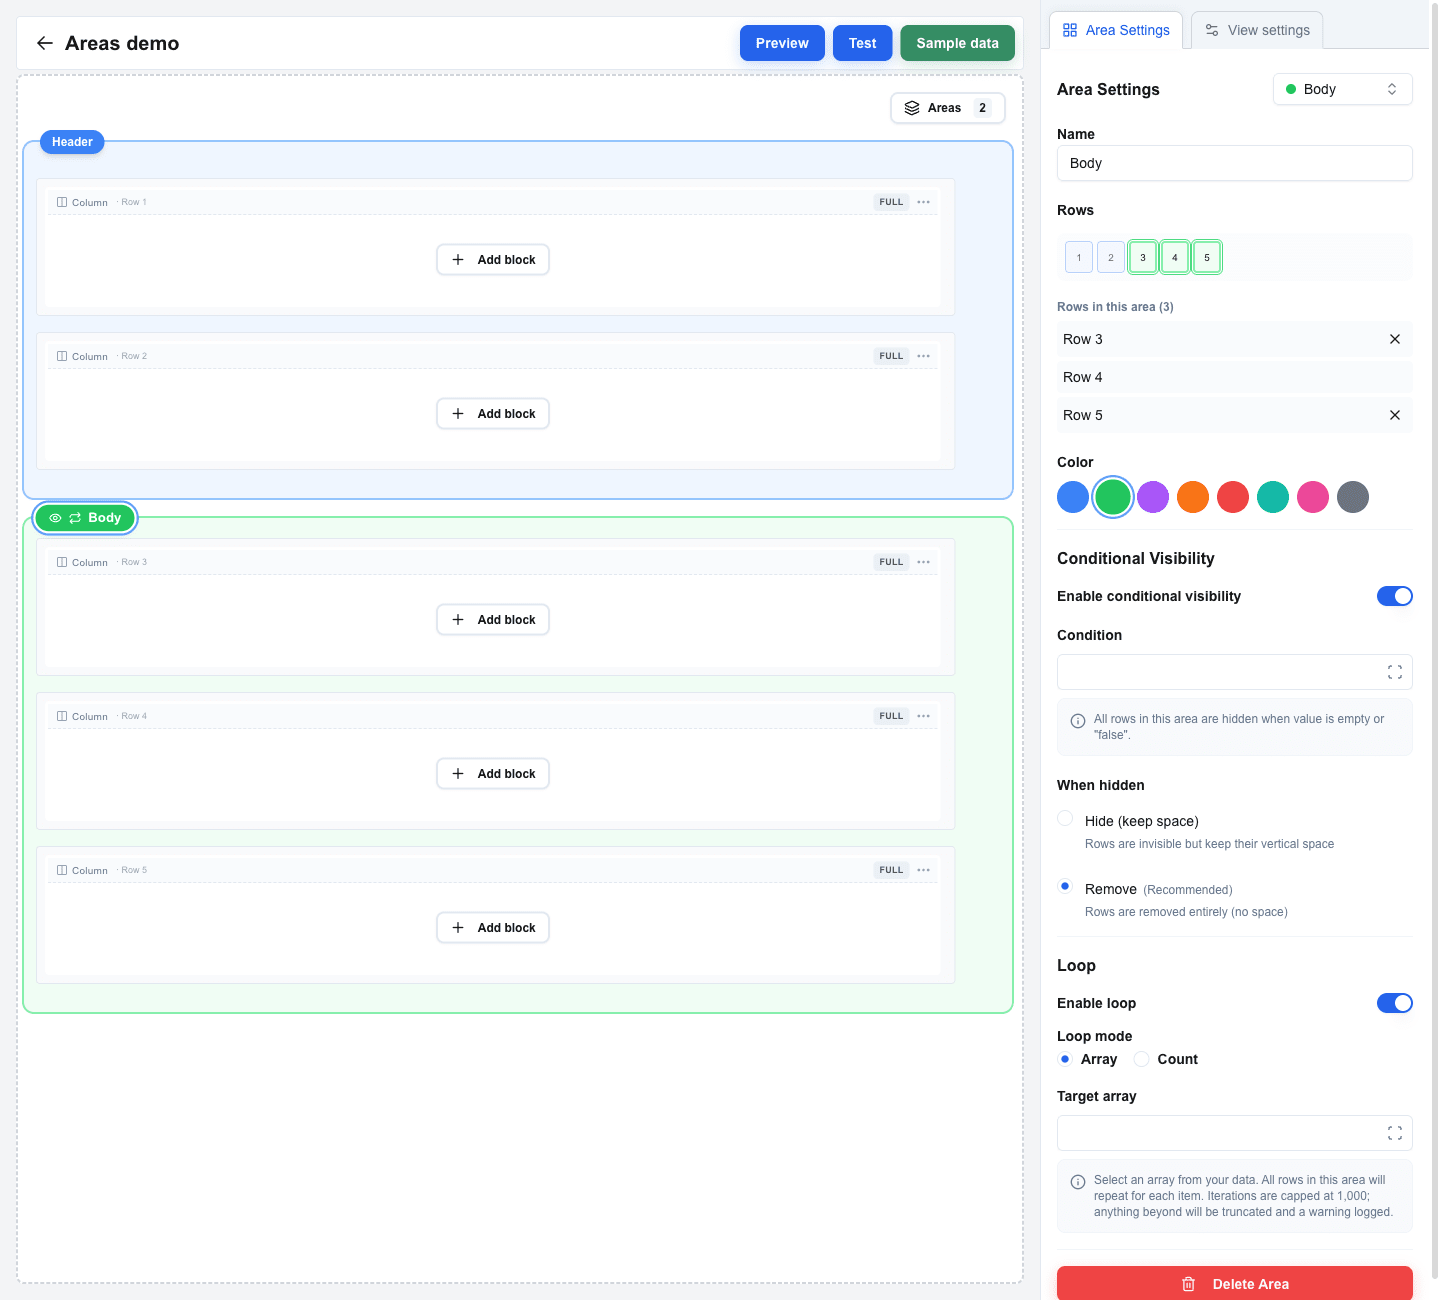 1. Open **Area Settings** and scroll to the **Loop** section.
2. Toggle **Enable loop** on.
3. Pick a **Loop mode**:
- **Array** -- repeat once for each item in a data array.
- **Count** -- repeat a fixed number of times.
### Array mode
Use Array mode when you have a list of records (for example, deals, products, line items) and want the area to appear once per record.
1. Set **Loop mode** to **Array**.
2. Fill **Target array** with the Data Picker -- pick an array from your data source (for example, `deals` or an API response field).
The rows inside the area are rendered once for each item in the array. Inside the area, Data Picker placeholders resolve against the current iteration's item, so a placeholder like `{{item.title}}` shows a different title in each repetition.
If the target array is empty, the area renders nothing (every row inside is hidden).
### Count mode
Use Count mode when you want the area to repeat a known number of times regardless of whether there is a matching list.
1. Set **Loop mode** to **Count**.
2. Fill **Loop count** with the Data Picker -- pick a number from your data, or type a literal number.
The rows inside the area are rendered that many times.
### Iteration index
Inside a looping area you can reference the current iteration number (starting at **1**) via the Data Picker's **loop item** tab -- the icon is a repeat / loop symbol and the tab only appears inside a looping area. Use it to number items, conditionally style the first or last one, or drive other logic.
### Iteration cap
A single looping area is capped at **1,000** iterations. If the target array or count would produce more, the extras are dropped and a warning is written to the browser console. If you hit the cap, reduce the list length or count in your data source.
### Forms inside a looping area
If the looped rows contain form inputs, each iteration renders its own copy of every input. The first iteration keeps the original field names; later iterations submit under `_loop_1`, `_loop_2`, … suffixes. The submission also carries an `oc_loop` array — one object per iteration — so your endpoint has one predictable place to read the looped values. See [Form Submission Types](/docs/buttons/interface-button/interface-builder/reference/data-binding/form-submission-types#forms-inside-a-looping-area) for the exact payload shapes.
## Preventing Overlap
Areas cannot overlap. The row selector disables buttons for rows already owned by another area, and the **Add Row N** quick-actions only show for adjacent unowned rows. Resize or delete the conflicting area before adding it to a new one.
## Deleting an Area
Click **Delete Area** at the bottom of **Area Settings**. This removes the area grouping only -- the rows themselves stay on the canvas.