Creating a Workflow button
Please note that OneClick Settings is only accessible for users who are Pipedrive Global Admins. Read more in this Pipedrive help article
Don't forget to check out our Make and Zapier Basic examples once you've read this article!
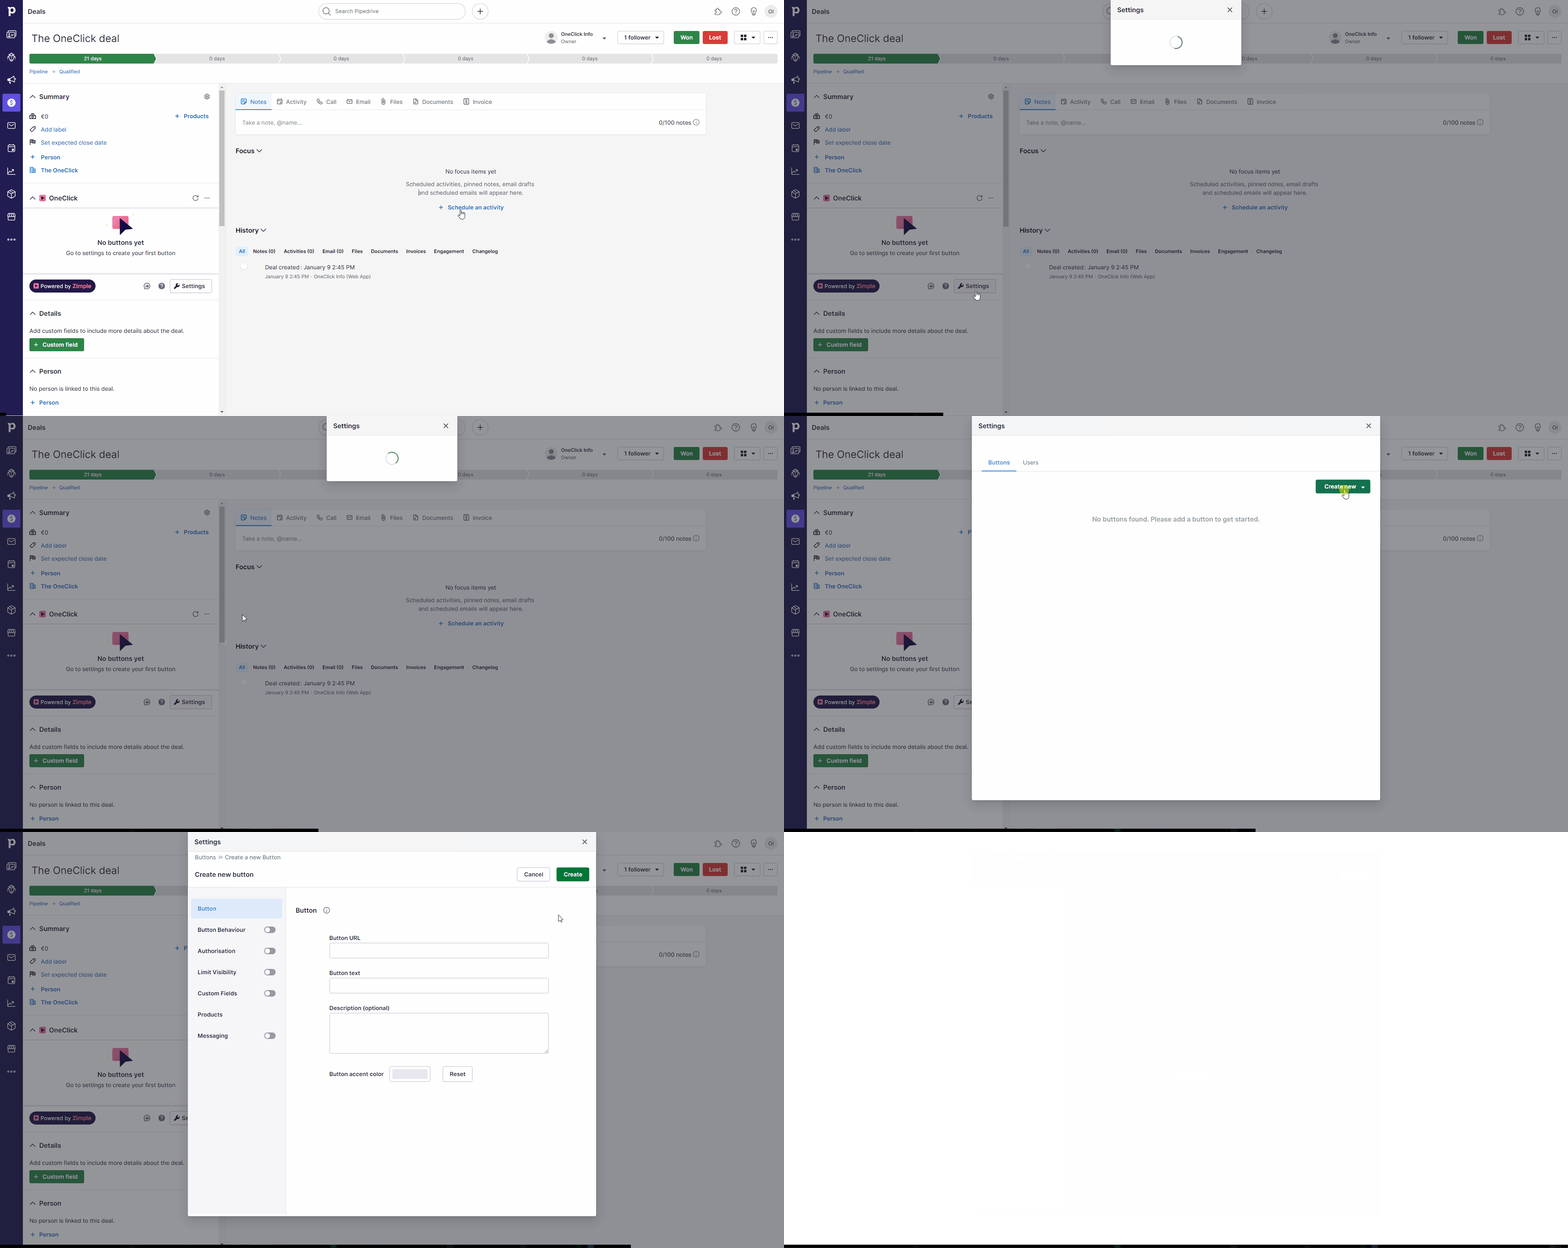
Once you've installed OneClick go to any Pipedrive deal, organization or person and click on the Settings button in the OneClick application panel. To create your first button click on Create new and select Workflow button.
Button settings
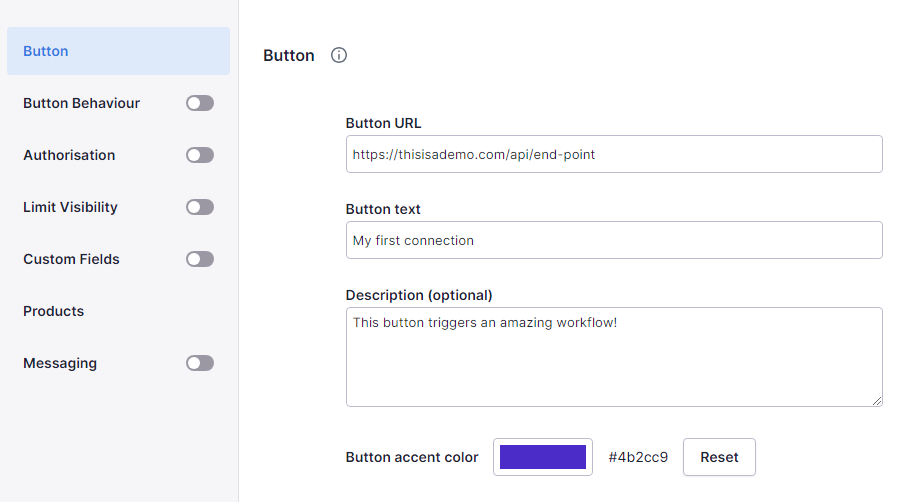
The Button section defines the minimum basic settings for your Workflow button to work.
Button URL
The button URL is required, and should be the URL for your automation end-point / webhook.
Button text
Description
Optional description for your button. Once set, users can see the description by clicking on the information icon next to the button in the application panel main view.
You can use basic HTML in your description. Allowed tags are <a>, <b>, <i>, <br> and <div>. Inline CSS is not allowed. All illegal tags and attributes will be automatically deleted.
Button accent color
You can add a colored border for your buttons by clicking on the Button accent color picker. Choose your color, and reset back to default (no border) by clicking on Reset. You can easily copy the color hex code next to the color picker.
Test your button
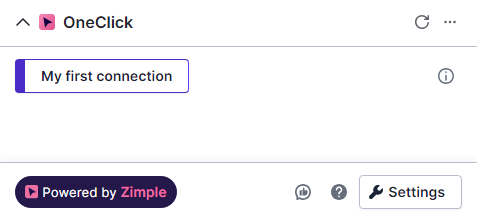
Once you've set up the button basic settings, click on Save and close the settings dialog. You should now see your button in the application panel:
Button click payload
When you click on your Workflow button, it will send an HTTP POST call to the button URL that was defined in the settings. The POST call body JSON payload looks similar to this example:
{
  "identifier": "25f51481-2e6a-4253-8714-cbd0088f7bae",
  "resource": "deal",
  "view": "details",
  "userId": "18136649",
  "companyId": "89342902",
  "selectedIds": "2",
  "fields": null
}
Please note that this is the minimal JSON payload sent with the OneClick button. Depending on your other settings, additional properties may be added. Read more about advanced features later in this guide
Identifier
The unique identifier of the OneClick button that was triggered will be delivered in the identifier property.
Resource
The Pipedrive object type from which the button was triggered from will be delivered in the resource property. Possible values for resource are "deal", "person" or "organization".
User ID
The Pipedrive user ID who triggered the button will be delivered in the userId property.
Company ID
The Pipedrive company ID to which the users belongs to will be delivered in the companyId property.
Object ID
The Pipedrive object ID from which the button was triggered from will be delivered in the selectedIds property.
Button click headers
{
  "x-oc-user-id": "18136649",
  "x-oc-company-id": "89342902",
}


