
The very basics with Zapier
Introduction
In this example we'll set up a very basic Zap which will create a note on the deal from which the OneClick button was triggered from. We'll use a Webhook trigger module to catch the button click. Read more about the basic usage in this article!
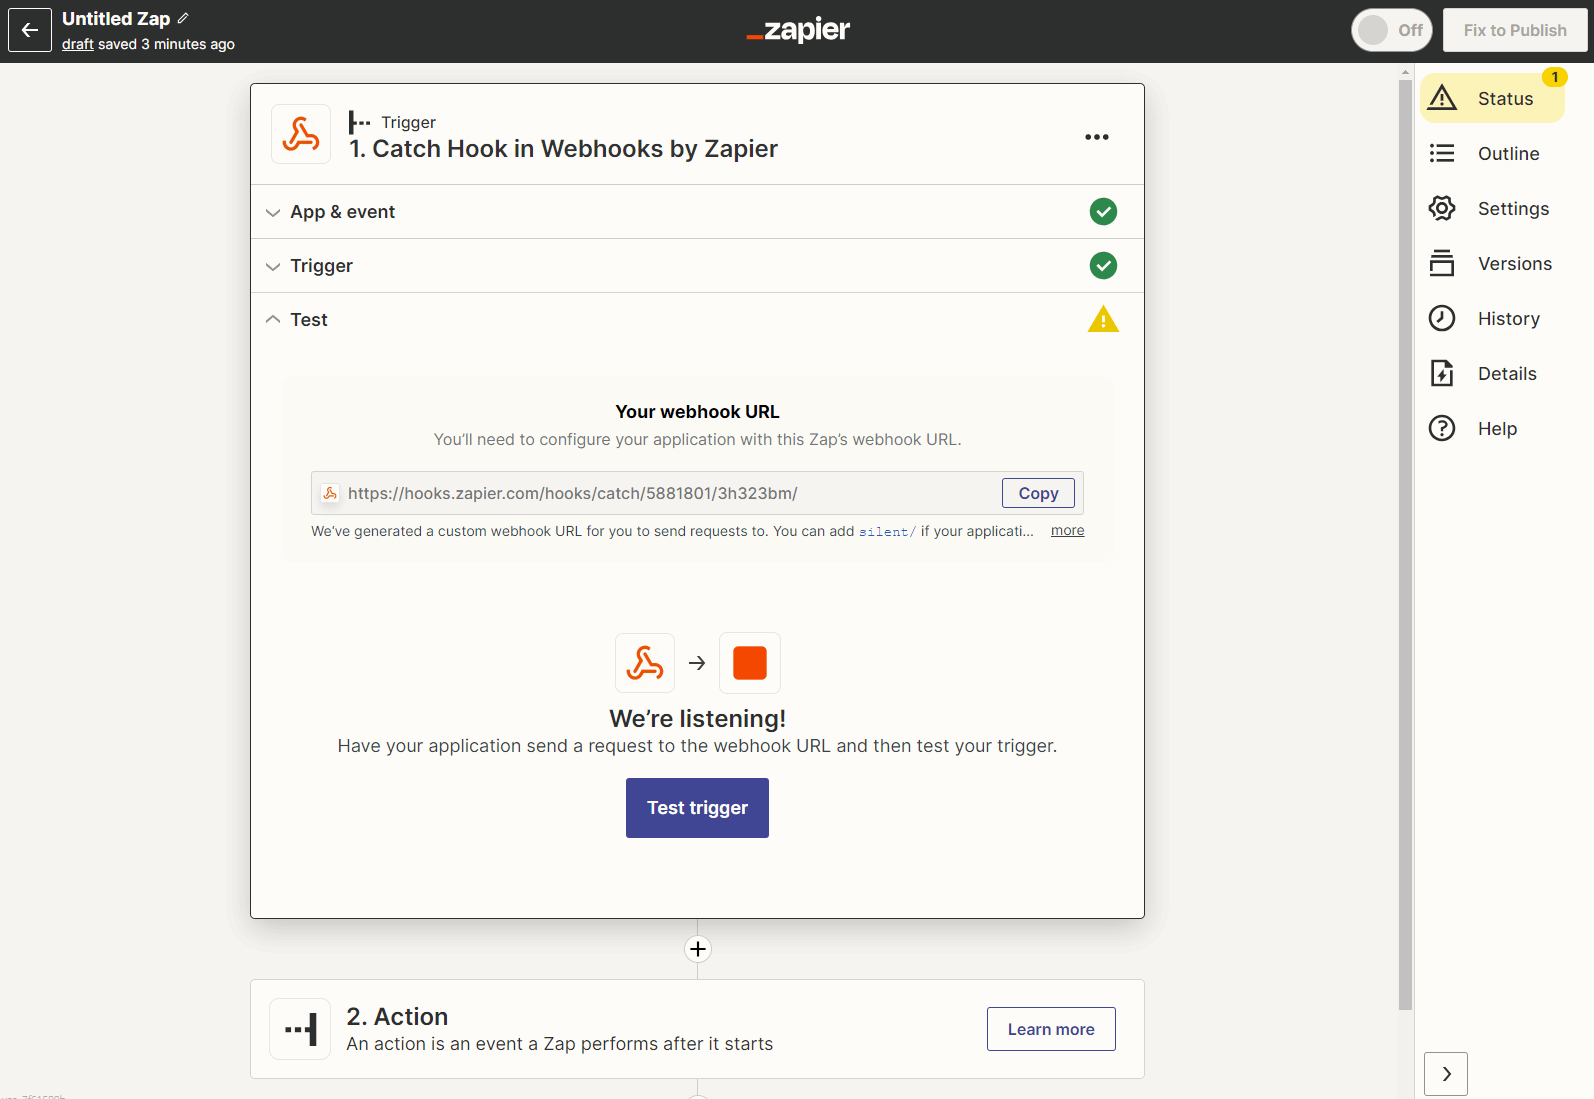
Create a new Zap with a Webhook trigger
Create a new Zap and select Webhook as the trigger module. Select Catch a Webhook as the event and copy the Webhook URL to clipboard.

Create a new OneClick button
Head to a Pipedrive deal, go to OneClick settings and create a new button. Paste your Webhook URL for the button URL and name your button. Save your button.
Don't forget to click on your newly created button to get some test data to Zapier!

Test Zap trigger
Go back to your Zap and select Test trigger. You should see a request in the Webhook queue. Choose it and select Continue
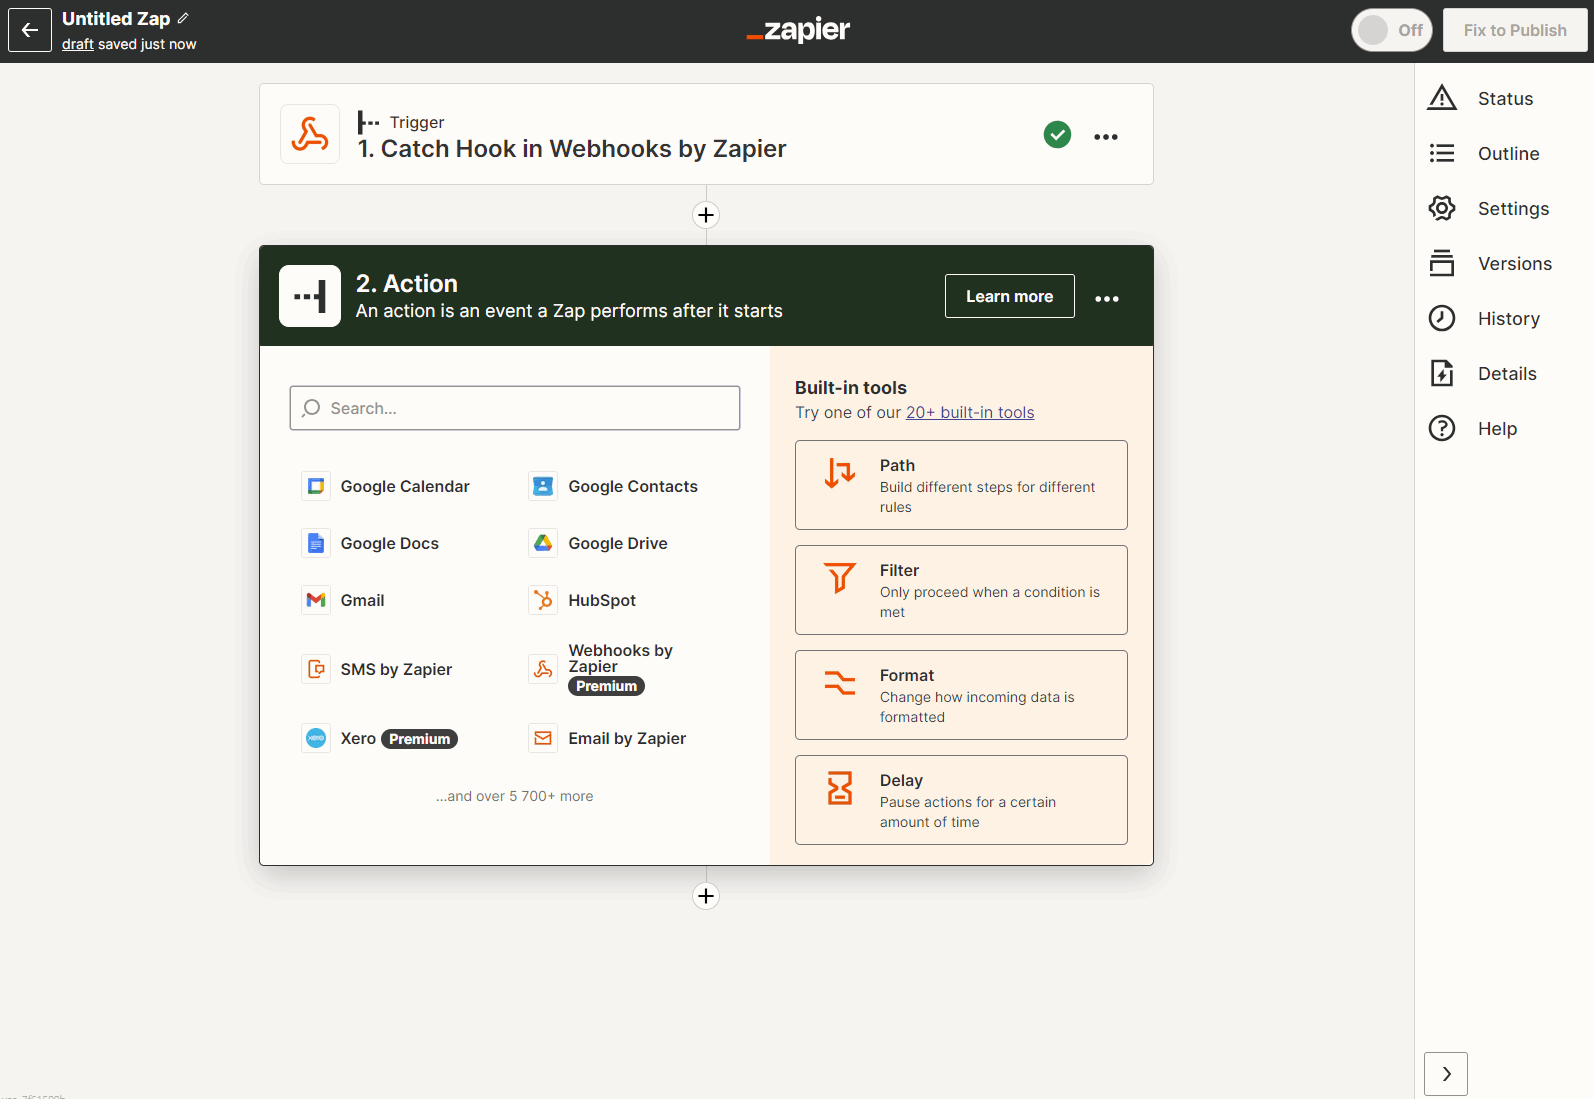
Add actions to your Zap
Add an action module in your Zap. Select Pipedrive for the module. Choose Create note for the module event and select or add your Pipedrive account. In the Action section add some content for your note. In the Deal ID field find selectedIds from the variable list (this is the deal ID from which the button was triggered from). Skip test and publish your Zap!
Test your button
Time to see our button in action! Head back to Pipedrive and trigger your button. You should be greeted with a note in your deal!
