Creating a Link button
Don't forget to check out our Link button examples once you've read this article!
Once you've installed OneClick go to any Pipedrive deal, organization or person and click on the Settings button in the OneClick application panel. To create your first Link button click on Create new and select Link button.
Button settings
The Button section defines the basic settings for your Link button:
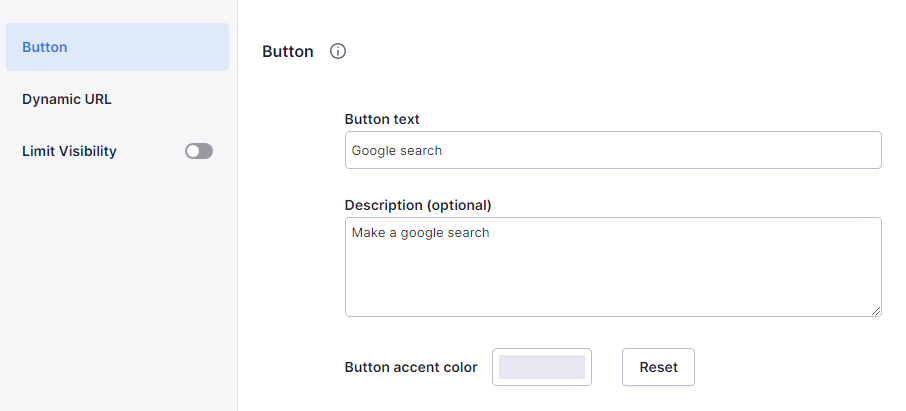
Button text
Description
Optional description for your button. Once set, users can see the description by clicking on the information icon next to the button in the application panel main view.
You can use basic HTML in your description. Allowed tags are <a>, <b>, <i>, <br> and <div>. Inline CSS is not allowed. All illegal tags and attributes will be automatically deleted.
Button accent color
You can add a colored border for your buttons by clicking on the Button accent color picker. Choose your color, and reset back to default (no border) by clicking on Reset. You can easily copy the color hex code next to the color picker.
Dynamic URL
The Dynamic URL field let's you build up your URL from blocks. For example, as seen below, you can build a simple Google search URL by replacing the search term with a Pipedrive organization name field:
It is recommended to first copy yourself a sample URL from the service to which you Link button will be pointing to, and then replace the query parameters needed with the Pipedrive fields in the dynamic URL field
Link button URL's should be entered without URL encoding, please read the details here
URL toolbox
The URL builder toolbox, which shows up when you hover on a URL element, has multiple different functions:
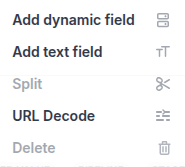
Add dynamic field
Add a new URL field element to the right of the current position. After picking a field element you need to select the field as explained in the Field picker section below
Add text field
Add a new URL text element to the right of the current position
Split
You can split a text element at the position where the cursor currently is
Delete
Remove the element on which your cursor currently is with the trash bin icon
URL Decode
Link button URL's should be entered without URL encoding. For example if you copy paste a sample URL from your browser like this:
https://www.google.com/search?q=test%20valueIt should be entered in the Link button URL as this (%20 represents a space character, hence it should be replaced as an actual space chracter):
https://www.google.com/search?q=test valueIf not done so, there will be double URL encoding in place once the button is clicked and the URL opened, ending up like this (%25 represents a percentage character, so the already encoded %20 space character's percentage character gets encoded again):
https://www.google.com/search?q=test%2520valueTo help you to input copied sample URL's in the fields, you can paste the original encoded value and then click on the "URL Decode" option in the URL toolbox menu:
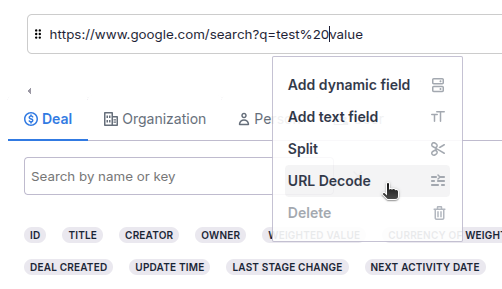
This will then automatically decode any encoded characters.
Arrange elements
You can move and arrange created elements with the elements drag & drop handles:

Field picker
When you have added a new field element to your URL you much choose which Pipedrive field it presents.
The Field picker is divided to three tabs, each for the corresponding Pipedrive object types. You can search for field's by it's name. Select the correct field to the field element by clicking on it.
Some field types (for example single or multi select) may hold more information than just the field's label value, in this case you need to choose what will be actually used in the URL when the Link button is being triggered, as an example:
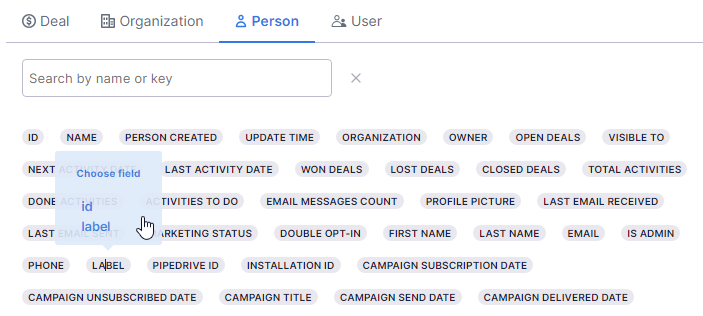
You can also add a new field to your URL without using the URL field Toolbox. If you click on a field in the Field picker it will be added to the URL as the rightmost element.
Please note: All and any fields you pick for your URL are considered as required. If you choose a field for your URL and it is not available or empty you will not be able to trigger your Link button
Window
In the Window section you can define how and where the dynamic URL should be opened:
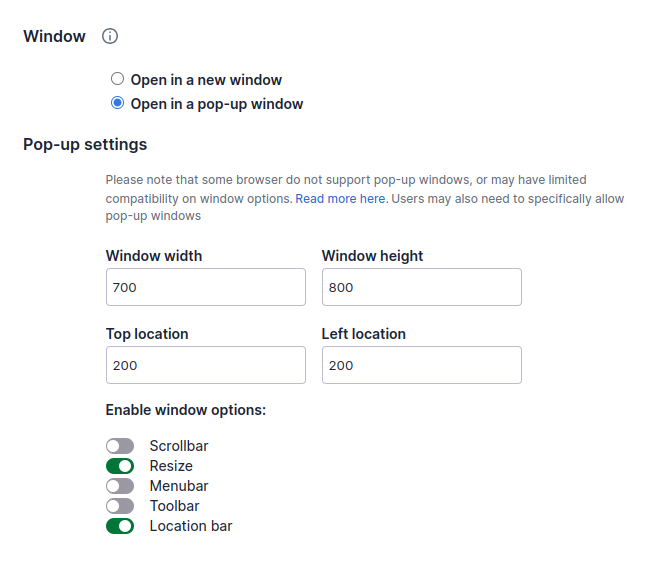
You can select to open the URL in a new browser window, or in a pop-up window.
If you select pop-up, you need to define the window width and height, together the position on the screen using the top and left location fields. All measurements are in pixels. Minimum width and height are 100px.
You can also choose to enable some window options in the pop-up, including to scrollbars, window resizing, menubar, toolbar and location bar.
Most browsers have at least some restrictions regarding pop-up windows, or may not support them at all. Please read this FAQ article for more information.
Test your button
When you've saved your button head to any Pipedrive deal and click on it in the OneClick application panel. In our example a new Google search window will open using the Pipedrive organization name as the search term: