How to Add Avatars
Adding an Avatar Block
Section titled “Adding an Avatar Block”- Hover the gap between two rows and click the
+button to add a row (pick any layout in the Add row dialog). - Click an empty column inside the row, then pick Avatar in the Add block dialog.
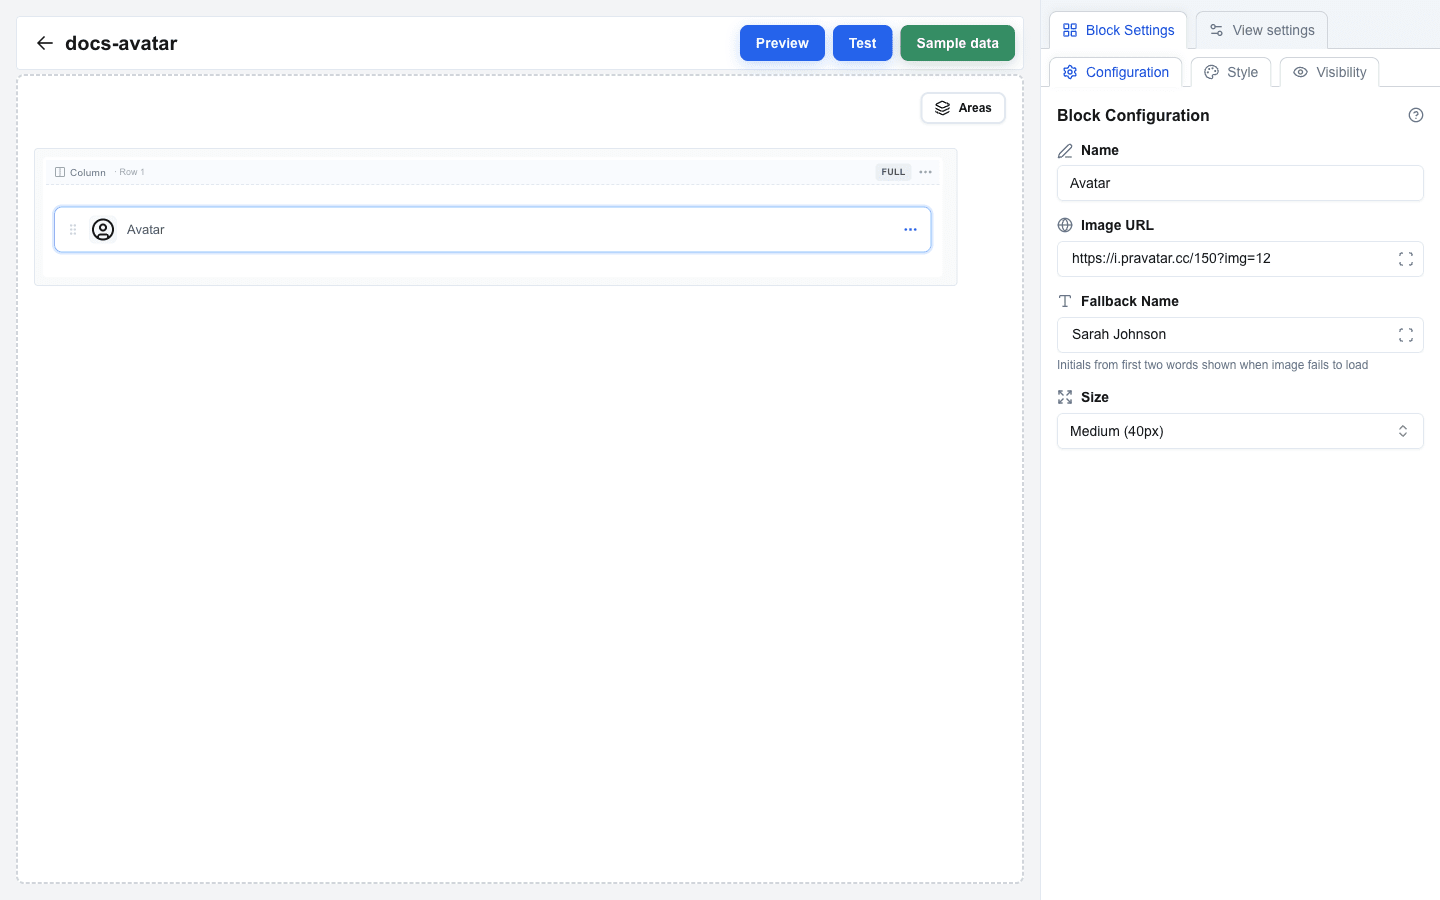
- Click the new block to open its settings in the sidebar.
Image Source
Section titled “Image Source”Use the Image URL field to set the avatar image URL. Typically you bind this to a dynamic data field such as a Pipedrive user photo or person photo URL using resource.field syntax.
If the URL resolves to a valid image, the avatar displays that image.
Fallback Text
Section titled “Fallback Text”Use the Fallback Name field to define fallback text shown when no image is available. This is typically a person’s name – the avatar automatically extracts initials from the first two words (e.g., “John Doe” becomes “JD”).
You can use static text or bind it dynamically via the Data Picker.
Size Selection
Section titled “Size Selection”Choose the avatar size from the dropdown:
- Small (32px)
- Medium (40px) — default
- Large (56px)