Creating a New View
Interface Views Page
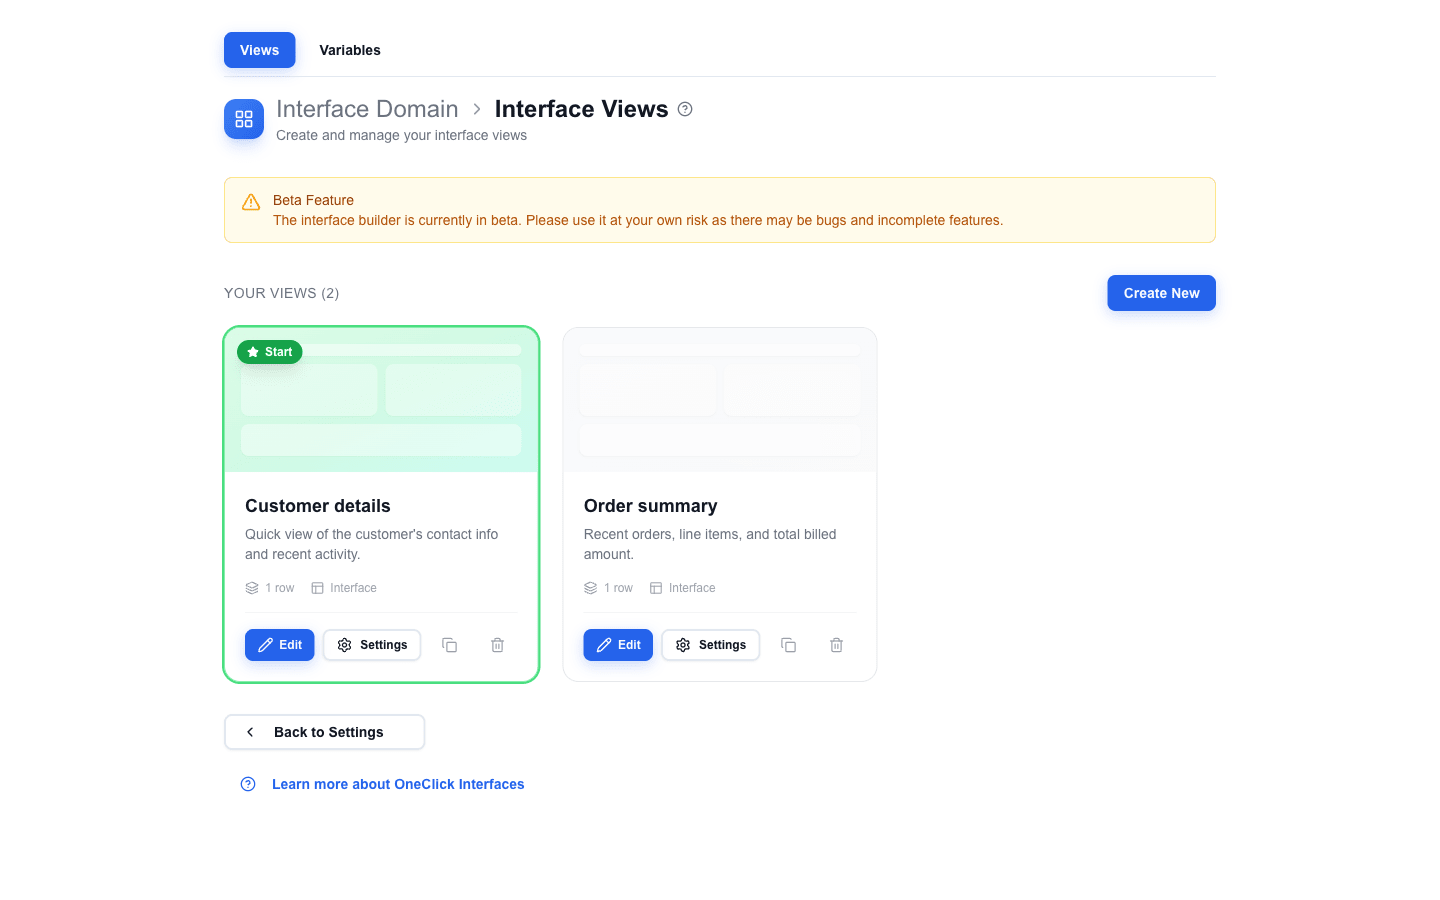
Section titled “Interface Views Page”Open the views list for an interface from the interface management page (the Interface Domain > Interface Views breadcrumb). The page shows every view in the interface as a card with its name, description, row count, and the Start badge on whichever card is the main view.
Creating a New View
Section titled “Creating a New View”- Click Create New in the top-right of the Your Views section.
- The Create new view dialog opens. Fill in:
- Name – a unique, descriptive name. The name is used in navigation references (action buttons, navbar links, form-after-submit selectors) and in the view-selector dropdowns inside the builder. Choose clear names like
Customer details,Order summary, orEdit form. - Description – optional context shown on the view card.
- Default view – when on, this view becomes the interface’s main view (see Main View below). The first view of an interface is forced to be the default and the toggle is disabled.
- Name – a unique, descriptive name. The name is used in navigation references (action buttons, navbar links, form-after-submit selectors) and in the view-selector dropdowns inside the builder. Choose clear names like
- Click Create. The view is created with an empty canvas and the builder opens automatically.
Editing the View in the Builder
Section titled “Editing the View in the Builder”Click Edit on a view card (or open a view from the breadcrumbs) to start working on it in the builder. From there you can:
- Add rows and blocks.
- Configure data bindings via the Data Picker.
- Set Global Styles for view-wide font, colour, and gap defaults.
- Configure Areas to group rows for shared visibility or looping.
Each view has its own independent layout, rows, blocks, and settings. Edits auto-save – there is no separate save or publish step. See Saving for the auto-save and validation rules that apply.
Card Actions
Section titled “Card Actions”Each view card has four action buttons:
| Button | What it does |
|---|---|
| Edit | Opens the view in the builder. |
| Settings | Opens the Edit view dialog. Same fields as Create new view plus a read-only ID – use this dialog to rename, edit the description, or change which view is the main view. |
| Copy (clipboard icon) | Duplicates the view inside the same interface. The copy is never the main view. |
| Delete (trash icon) | Removes the view after a confirmation prompt. |
Main View
Section titled “Main View”The main view is the one that opens when a user clicks the OneClick button in Pipedrive. In the views list it is highlighted with a green border and a Start badge (star icon) on the card preview.
To change which view is the main view:
- Click Settings on the view card you want to promote.
- In the Edit view dialog, turn on the Default view switch.
- Save.
Only one view can be the main view at a time – enabling Default view on a different card automatically clears it on the previous main view. Other views are reached through navigation actions: Action Buttons, Navbar links, Table action columns, and form submissions. See Navigating Between Views for setup details.