Subscription
This page is for admins. The Subscription tab shows the plan of your company, its seats, the payment method, the billing contact and the invoices.
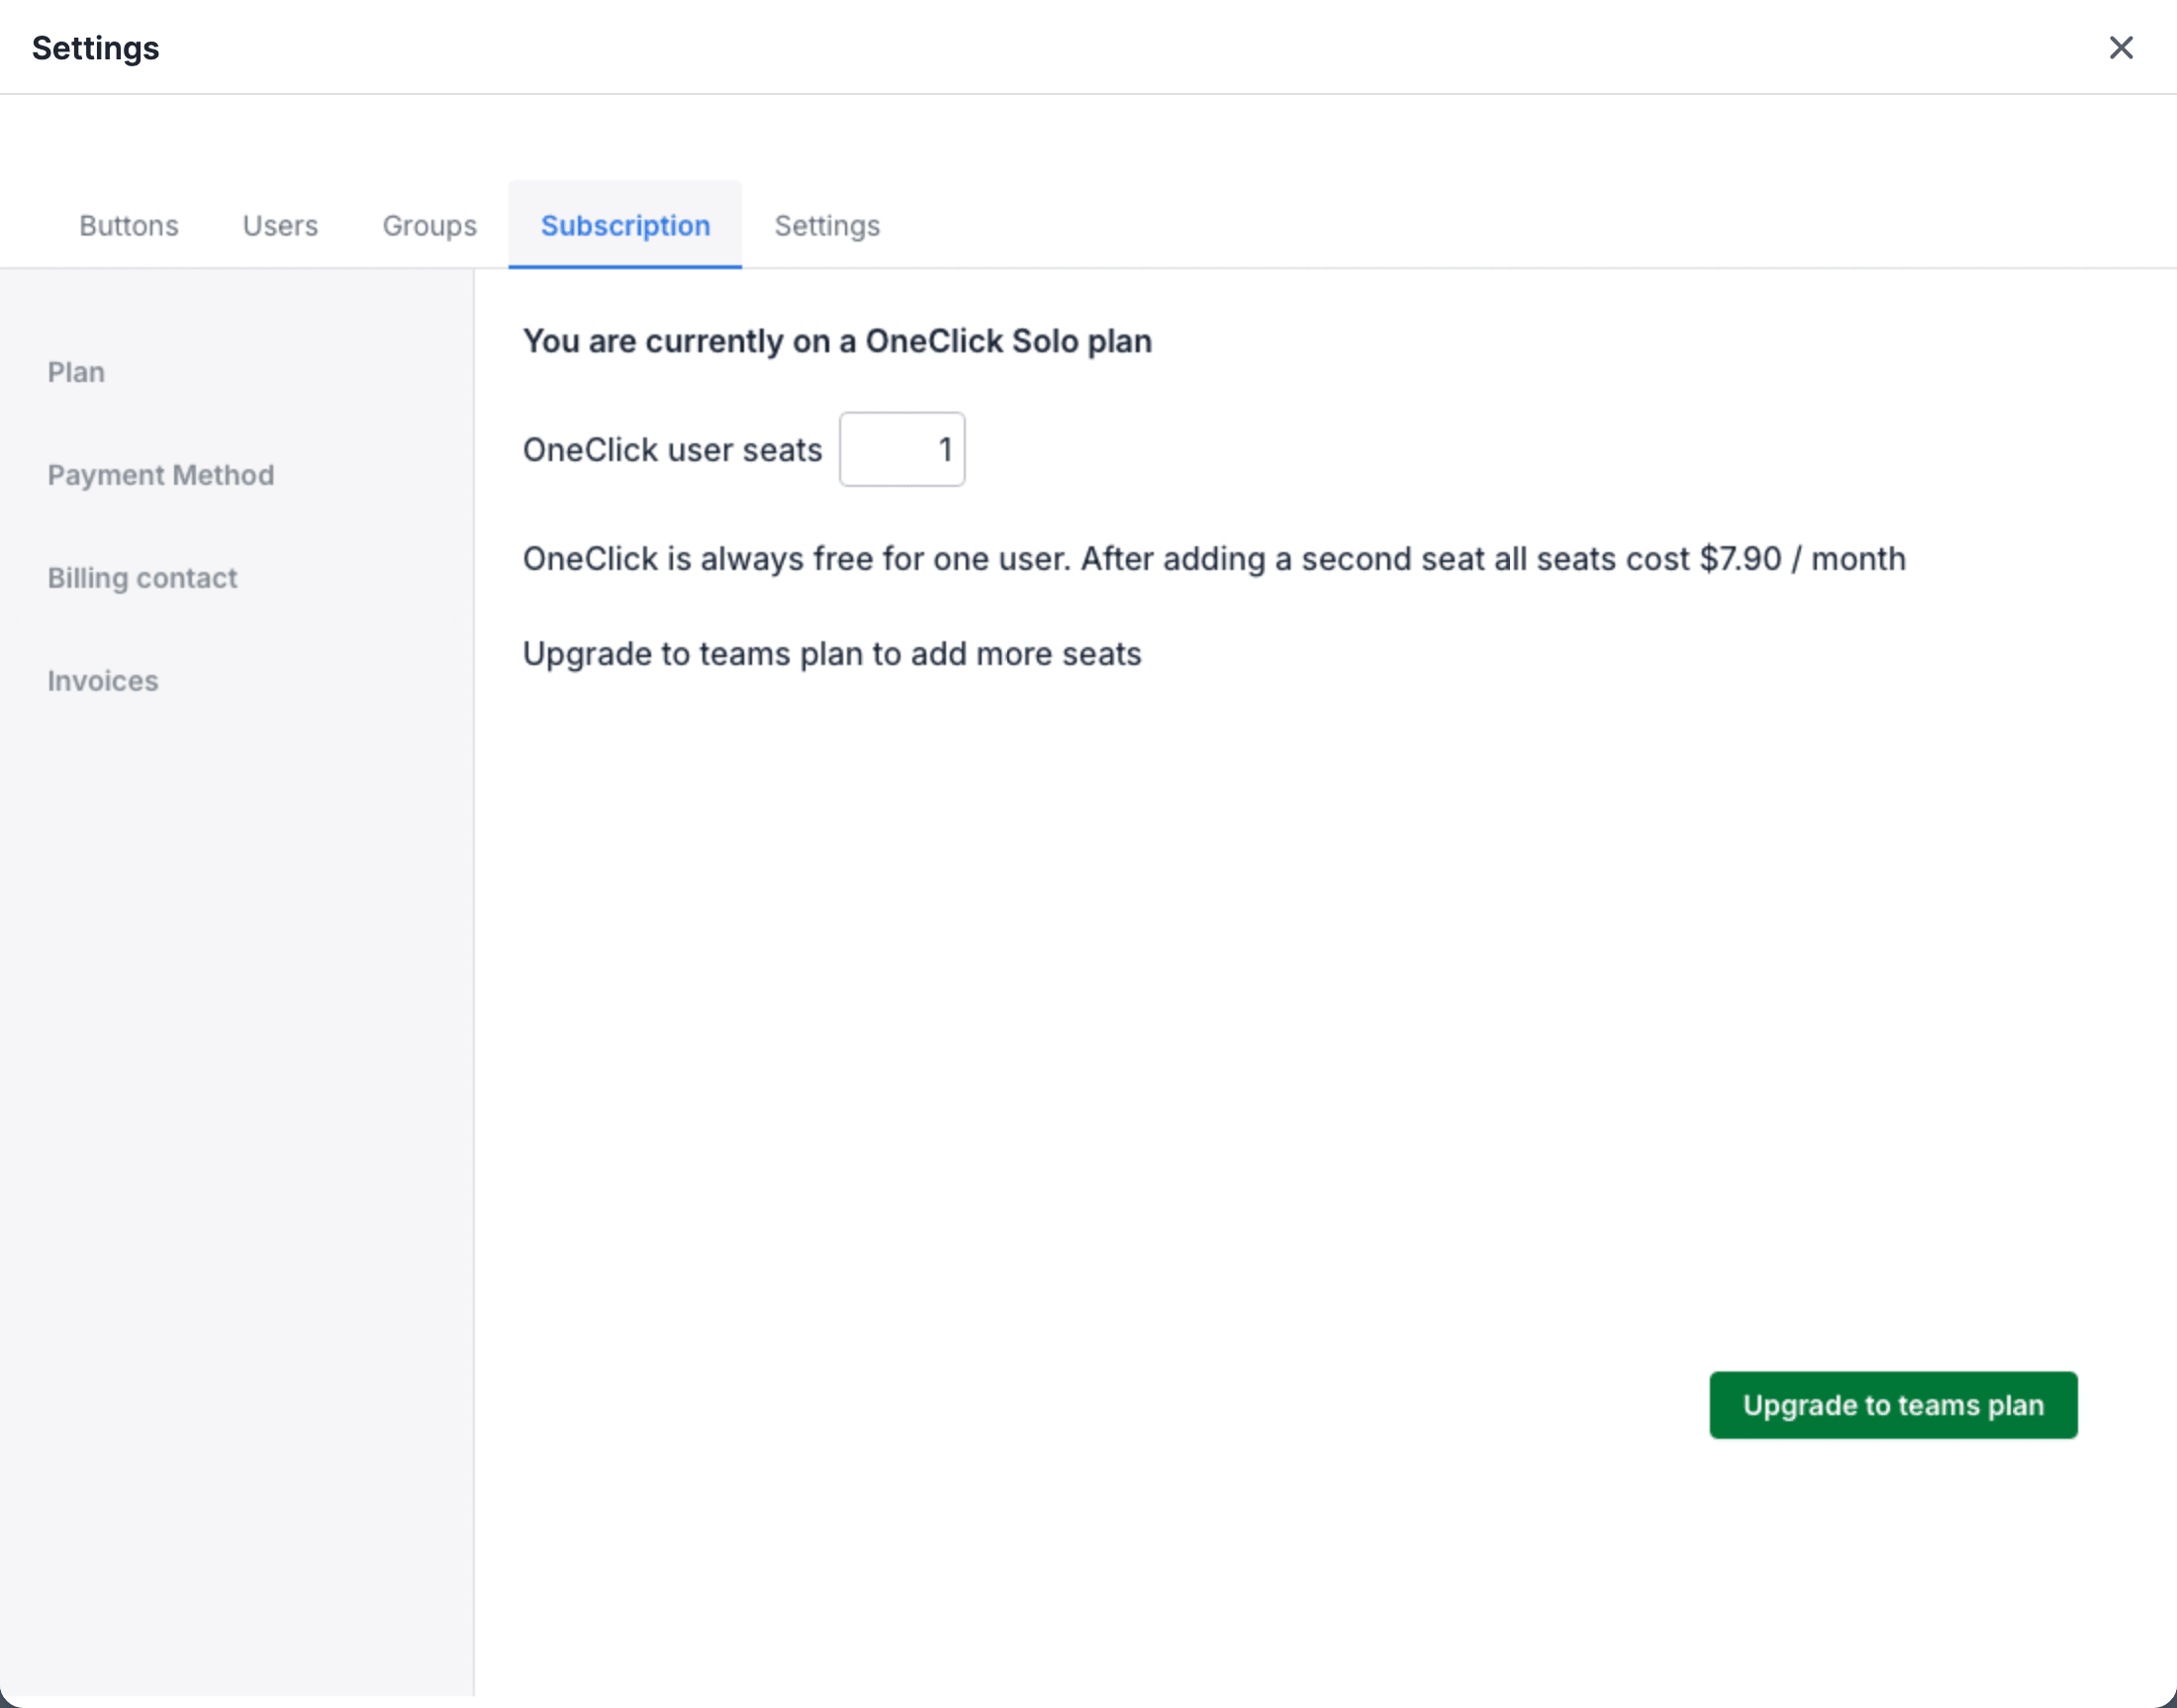
Plans and seats
Section titled “Plans and seats”Each OneClick user who uses the Buttons needs a seat. You give the seats on the Users tab. See Users.
| Plan | Seats |
|---|---|
| OneClick Solo | One seat. This plan is free. |
| OneClick Teams | Two or more seats. You pay a monthly price for each seat, also for the first seat. |
| OneClick Partner | The Partner of your company gives the seats. Ask your Partner to add or remove seats. |
The Subscription tab shows the price of a seat. VAT is added at checkout if applicable.
Open the Subscription tab
Section titled “Open the Subscription tab”- Click Settings at the bottom of the OneClick Panel.
- Click the Subscription tab. The Plan page opens.
The menu at the left has the pages Plan, Payment Method, Billing contact and Invoices.
Upgrade to the Teams plan
Section titled “Upgrade to the Teams plan”- On the Plan page, click Upgrade to teams plan. The step Plan options opens.
- Type the number of seats in OneClick user seat. The minimum is two seats, or the number of users who have a seat now. The page shows the total price per month.
- If you have a promo code, type it in Promo code and click Apply.
- Click Add payment method. The step Payment Method opens.
- Type the credit card data and the billing address. OneClick accepts Visa, Mastercard and American Express.
- Click Add billing contact. The step Billing contact opens.
- Type the billing contact data.
- Click Continue. The step Confirm shows a summary.
- Click Confirm and subscribe.
Change the number of seats
Section titled “Change the number of seats”- On the Plan page, change the number in OneClick user seat.
- Click Save. OneClick asks you to confirm.
- Confirm the change.
When you decrease the number of seats, the current number stays until the next billing date. The Plan page shows the current and the new seat limit.
You cannot decrease the seats below the number of users who have a seat. OneClick then shows User seats cannot be decreased. First remove seats from users on the Users tab.
Give seats to new users automatically
Section titled “Give seats to new users automatically”With the Teams plan, the Plan page has the switch Assign seats to new users automatically. The switch is off by default.
When the switch is on, OneClick gives a seat to each new user who installs OneClick, while free seats are available. When the switch is off, you give each seat on the Users tab.
Cancel the subscription
Section titled “Cancel the subscription”- On the Plan page, click Cancel subscription. OneClick asks you to confirm.
- Click Confirm and cancel subscription.
OneClick removes your billing information and your payment method. Your company keeps all seats until the end of the billing period. The Plan page shows this date. After this date, your company goes back to the Solo plan with one seat.
Until this date, you can click Reactivate subscription to continue the Teams plan.
Invoices
Section titled “Invoices”Click Invoices in the menu at the left. The list shows each invoice with its total and its status.